Views: 29
How to Reset Factory Default for Annke Vision Cameras If you reset the camera, the camera will come back to default and you need to set up everything again.
1. Plug camera into the power supply
2. Use a pin press and hold the reset button on the camera. Keep holding the reset button for 30 seconds and remove your hand.
I minute later, the camera will spin by itself until it stops after 30 seconds. You can see the LED will flash in blue color and the camera will rotate itself, which indicates reset succeeds.
For other models: I21AE, I21AF
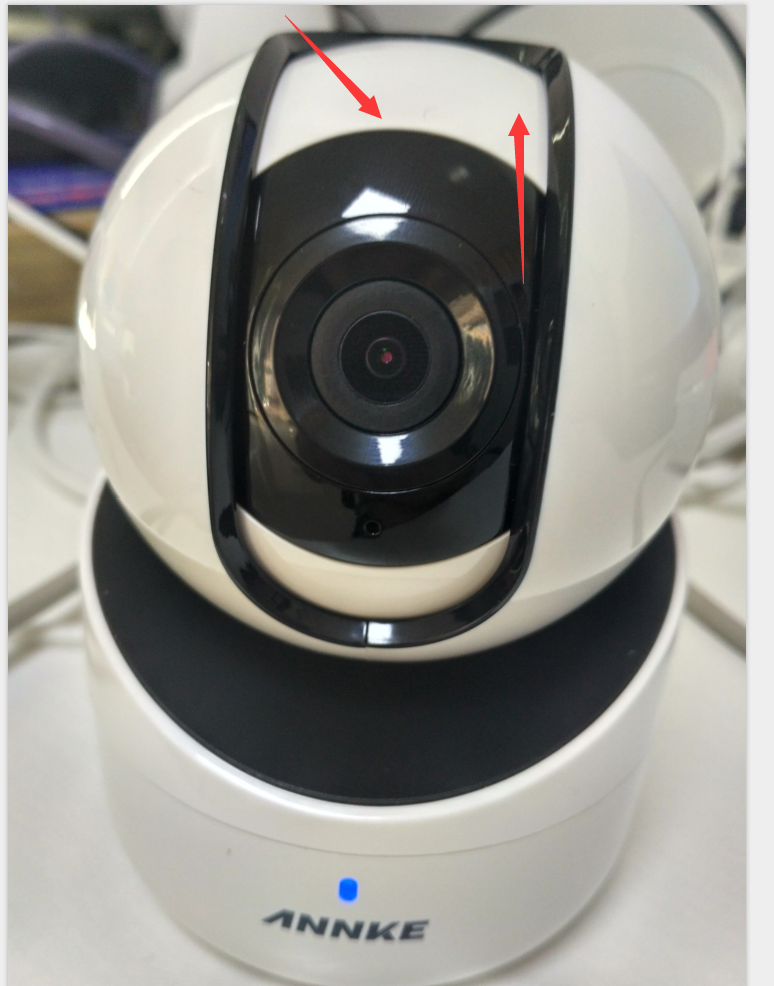
If you want to reset the camera or insert the SD card in the camera but didn‘t find the button, You should use your hand to turn the lens up.
Pls press and hold the reset button on the camera. Keep holding the reset button for 1 minute and remove your hand. You can listen to a ‘hello‘ sound, which indicates reset succeeds.
How to Reset Camera to Factory Default by 12V Power Adapter?
1. Get a 12V power adapter.
2. Press and hold the reset button on the camera for 20 seconds. Keep holding untill the step let your hand go.
3. Keep holding the reset button. At the same time, plug the camera into the power source.
4. Hold on the reset button for 20 seconds after the camera is plugged into the power adapter and left the hand go.
How to Reset Dome Cameras
If you reset the camera, the camera will come back to default and you need set up everything again.
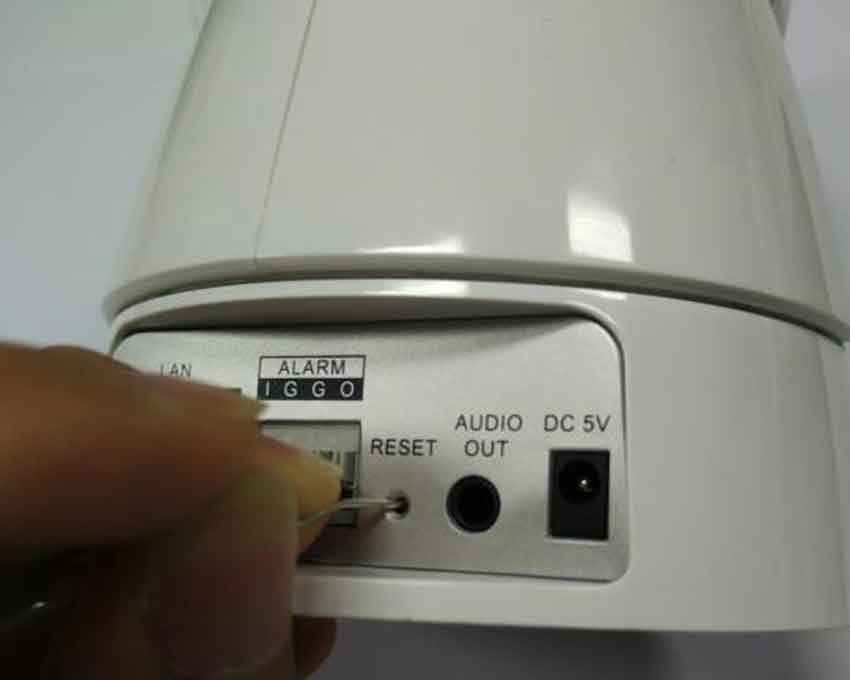
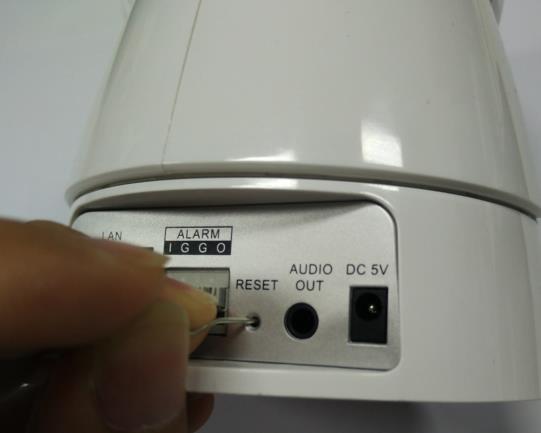
1. Unplug the camera from power and ethernet cable from the 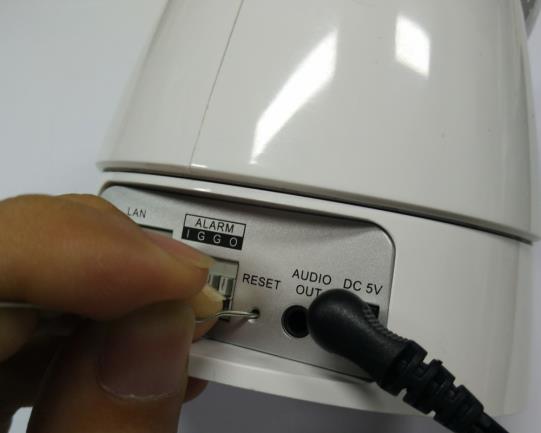
2. Use a pin press and hold the reset button at bottom of the camera. At the same time, use your other hand to plug the camera to power and keep holding the reset button.
3. Keep holding the reset button for 15 seconds and remove your hand.
I minute later, the camera will spin by itself until it stops after 30 seconds. You can see the LED will flash in blue color, which indicates reset succeeds.
The method is only for dome cameras like I61FC
1. Unplug the camera from NVR.
2. Use an instrument to loose 3 screws on camera‘s base.
Notice: the screw cannot be taken away but loose.
3. Open the round cover and find the reset button.
4. Use hand press and hold on reset button to reset the camera.
5. camera is reset and will show image on NVR.
How to Upgrade the IP Camera’s Firmware?
Note:
This article is supposed to resolve the ‘Offline’ issue for the cameras models mentioned above.
For a firmware update on other camera models, please contact ANNKE support here.
Step 1:
Download the firmware file from the below link. Unzip it to get the file ‘digicap.dav’ on your computer.
https://download.annke.com/firmware/4K_POE/PJ14PC20210610011_IPC_G5_EN_NEU_5.5.102_210611.zip
Note:
Please unzip this ‘.zip’ file to get the ‘.dav’ file, which is the actual file used for firmware update.
Step 2:
Access the camera’s Web interface on a computer browser.
- If the camera is used separately (without an ANNKE NVR), please refer to this link:
Annke Vision — How to Access the Web interface of ANNKE PoE Cameras via Browser? (Without NVR) - If the camera is used with an ANNKE NVR, please refer to this link:
Annke Vision – How to Access the IP camera’s configuration page on the NVR?
Step 3:
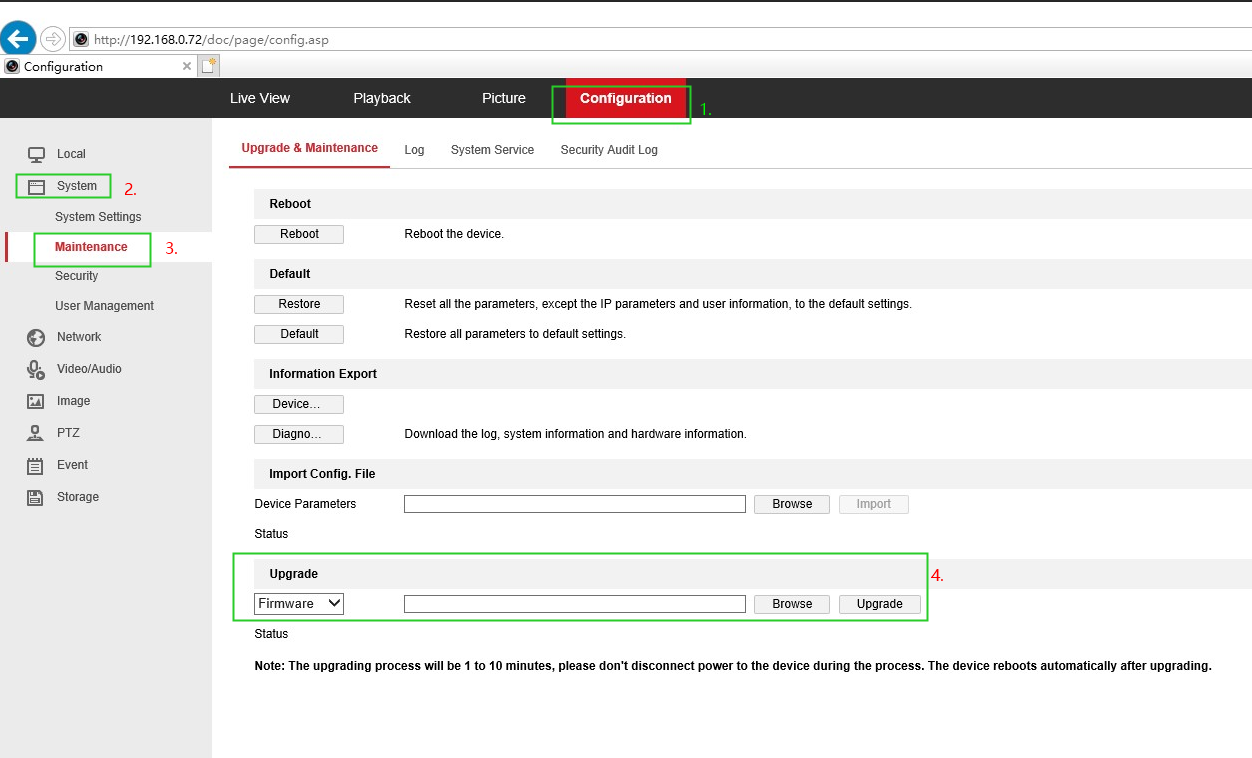
On the camera’s Web interface on IE browser (Internet Explorer), navigate to Configuration–System–Maintenance–Upgrade and Maintenance. Click [Browse] to choose the firmware file ‘digicap.dav’, then click [Upgrade] to begin the firmware upgrade. When the upgrade finished, the camera will reboot automatically.
Note: Please do NOT close the page or move the camera during the upgrade.


can you help me please
I can’t upload
Can you write your contact number?
please provide support for me i leave my email address
please provide support for me i leave my email address